
Query Governance
Lightup allows users to configure and customize different integration settings for different Data Sources, as well as inspect the query history for a specific data source. The following settings are available for most, if not all, of the data sources that Lightup Supports:
Auto-configure table metadata metrics - Enables all metadata metrics automatically for all configured tables inside all enabled schemas.
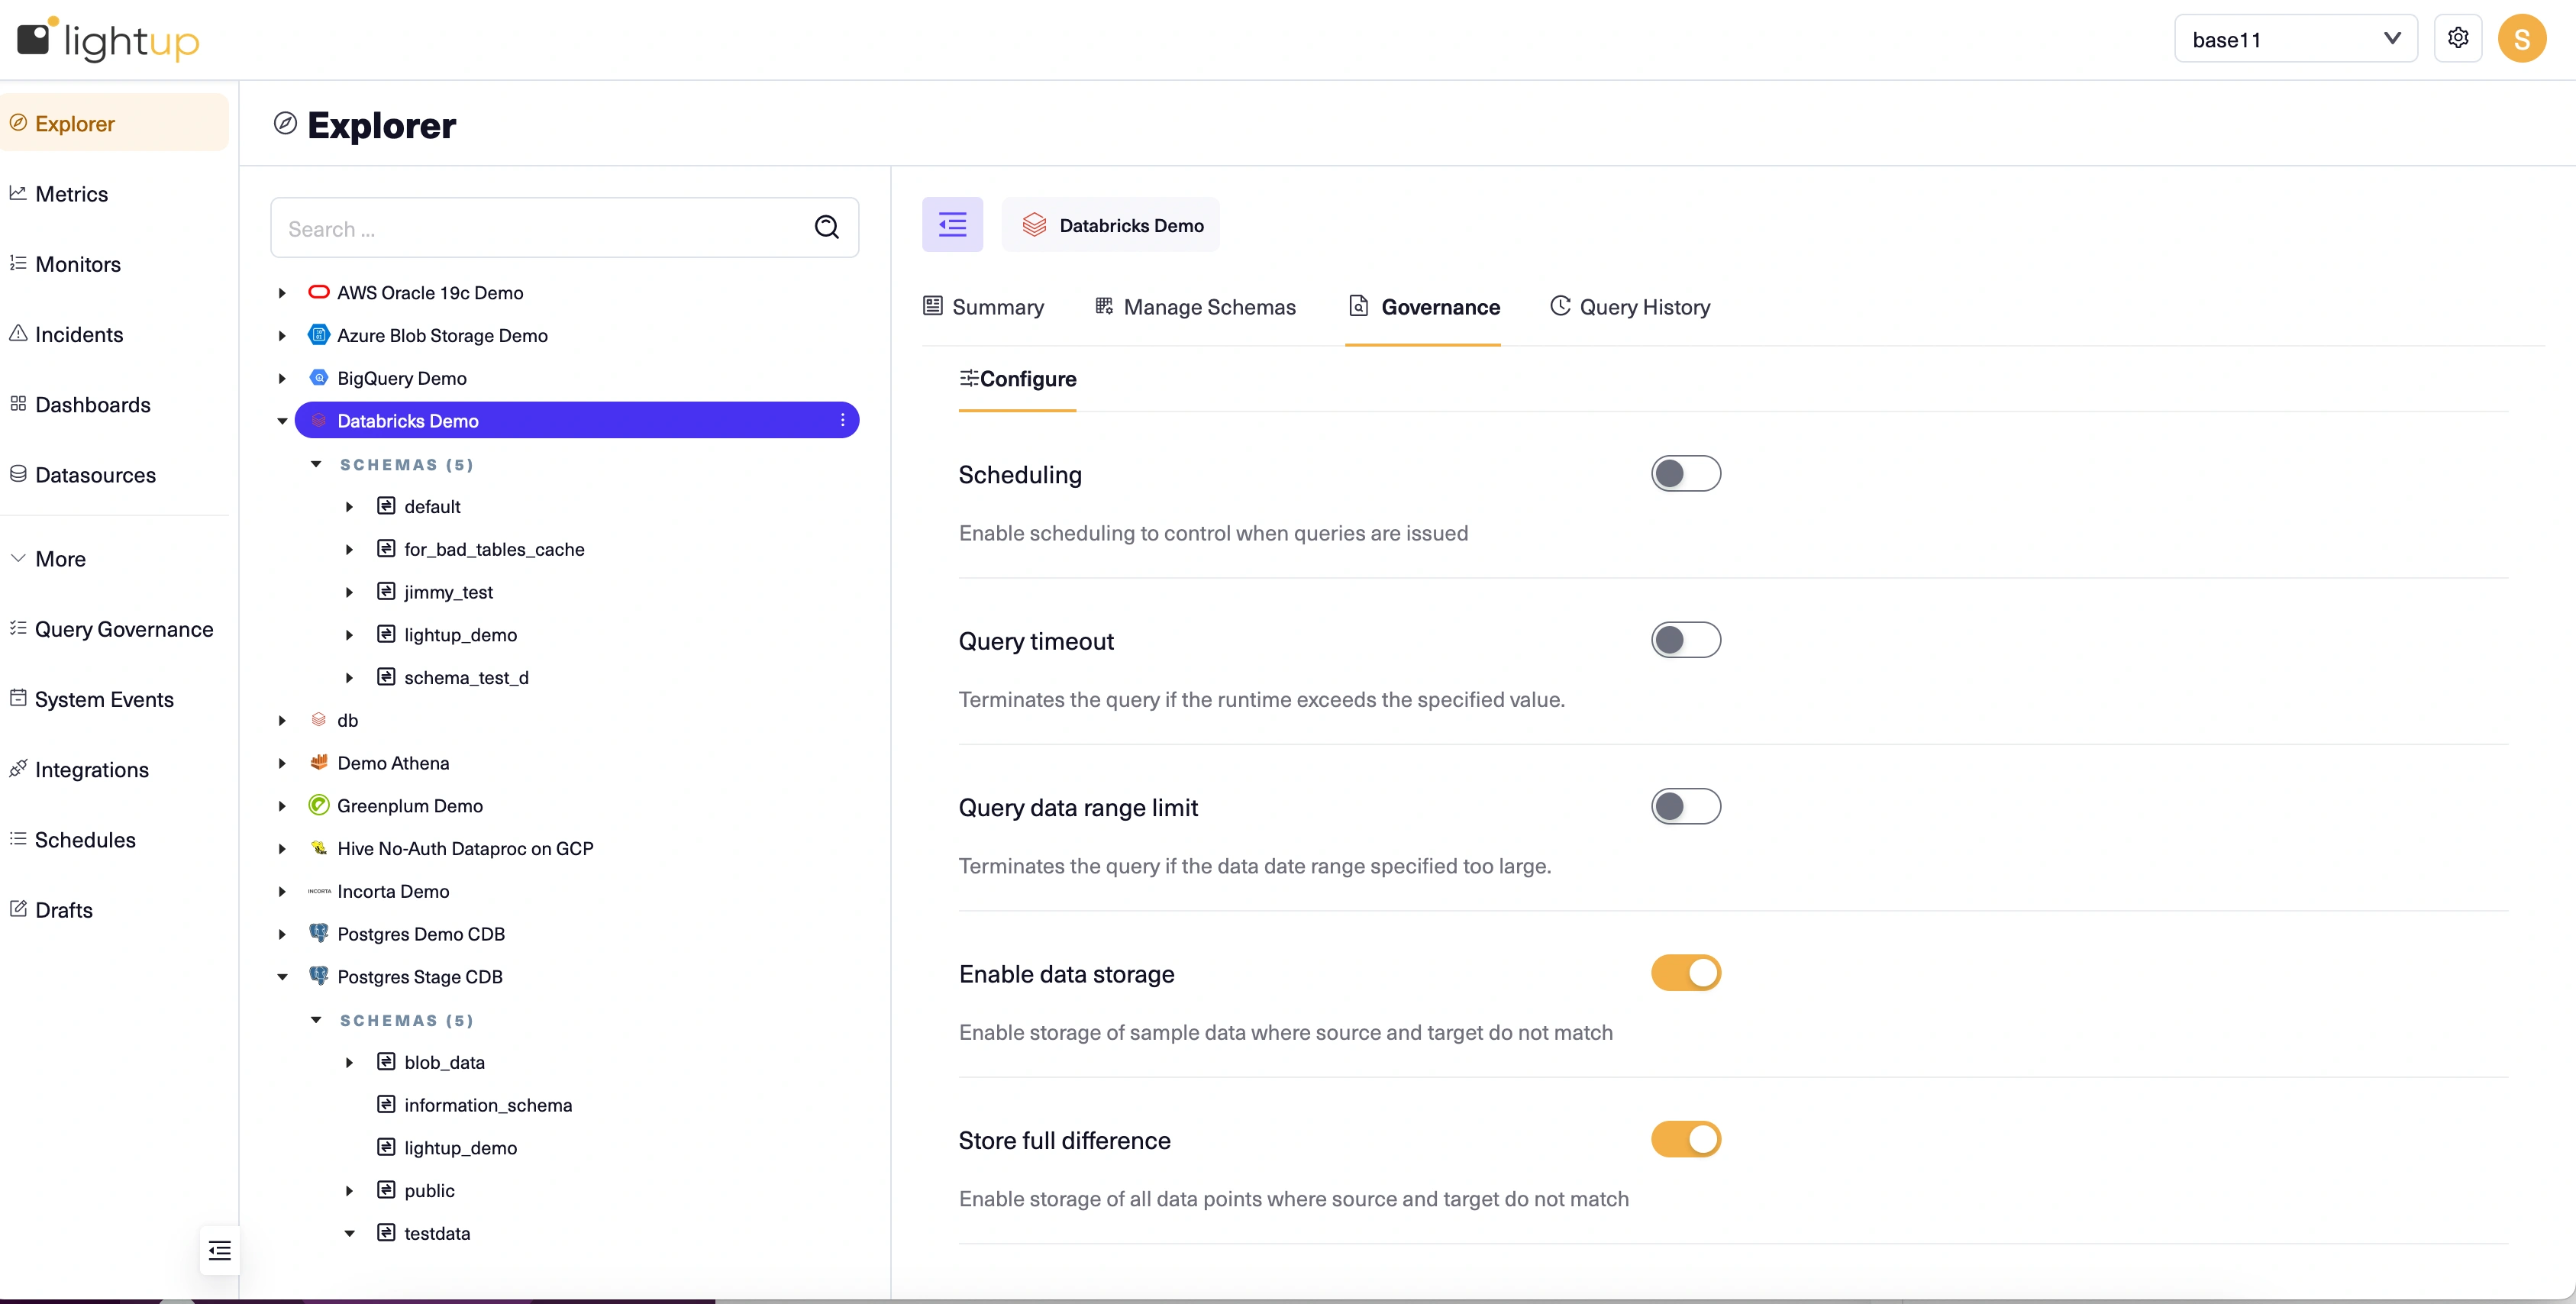
Scheduling - Enables using schedules to control when the datasource is available to metrics.
Some datasources support always allowing interactive queries (i.e., ignoring schedules when previewing a metric or retrieving sample data)— if so, you'll see a toggle, Always allow interactive queries.
If you use Schedules to control when a datasource's metrics can run, be sure to allow enough time for the metric queries to complete. Otherwise, if there are metric queries that haven't run when a datasource's schedule ends, the pending queries will not run.
Query timeout - Enables automatic canceling of any Lightup query (the basis of metrics) that hasn't returned a value within the specified Terminate after interval.
Query date range limit- Enables automatic canceling of any Lightup query (the basis of metrics) that attempts to summarize data over a period that's longer than the specified Limit range to interval.
Enforce indexed timestamps - Prevents configuring a metric if the data asset's timestamp column isn't indexed.
Enable data storage - Enables storage of records (data) that produced incidents.
Enable data samples - Allow display of raw data samples in the application
Store full difference - Enable storage of all data points where source and target do not match
Enable failing records count cache - Allow failing records count to be fetched and cached automatically when an incident is created. If the incident is ongoing (has not ended) in subsequent metric collections, the failing records count is updated with the new count of failing records.
Maximum backfill duration - Use to set a maximum backfill duration that's shorter than the system limit of 11,000 data points. For more information about the effect of this setting, see Backfill duration.
Store full difference - Enable storage of all data points where source and target do not matc
Maximum distinct values - Prevents collection of Categorical distribution metrics if the number of distinct values exceeds this maximum. Once the number of distinct values rises above the max, the metric will pause, and a tooltip appears indicating that the maximum has been exceeded.
Auto-configure auto metrics- Enable auto metrics by default. You can limit the number of tables to auto-configure while enabling this setting
To change any of these Query Governance settings, click the dropdown arrow next to the Workspace in the left navigation bar and select Query Governance. Then select the desired data source from the first drop-down.
Updated 11 months ago