
Schedules
Schedules let you control when various processes can occur inside a workspace. You must be an admin in a workspace to create or edit its schedules.
You can use schedules to manage:
- When a specific datasource can or cannot be queried. This will allow users to avoid querying the datasource when it's busy or unavailable. For more information, see set query governance for a datasource.
- The timing of alerts sent by monitors. For more information, see use schedules to control notifications for a monitor.
- There are two types of schedules: Recurring Event, and Custom Event Series.
Create a schedule
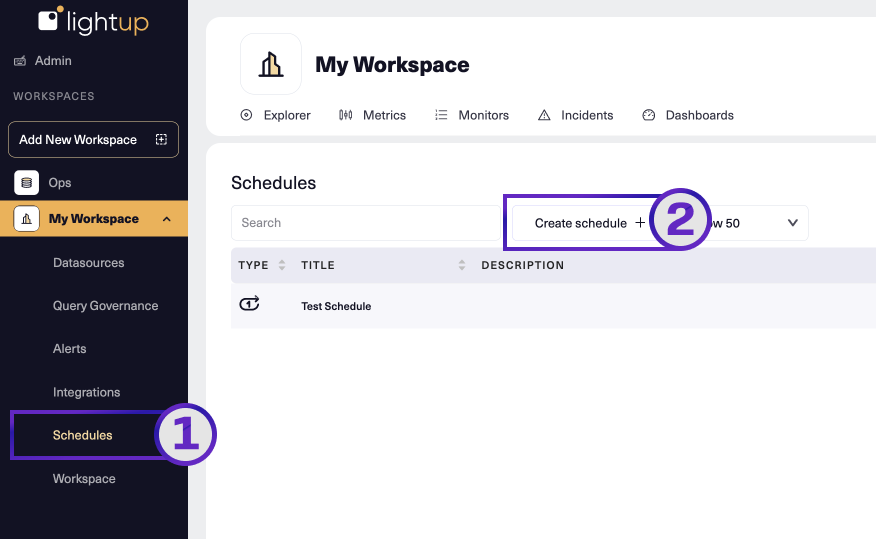
- On the workspace menu, select Schedules.
- Above the Schedules list, select Create schedule +.
- In the Add new schedule modal, enter a Name and Description.
- Choose a schedule type:
Recurring Event Settings
- Specify the recurrence interval: Hour, Day, or Week. The remaining options change to reflect your choice.
- Set the Start time and End time.
- If you chose Week for the recurrence interval, under Repeats select the weekdays when recurring events should happen.
- Under When should the schedule end?, choose Never Ends or choose After and then specify how many times the events should occur.
- Select Save when you're finished.
Custom Event Series Settings
- Under Series(0), adjust the Start time and End time as needed.
- To add another event, select + and enter a start and end time. Use the garbage icon to delete an event if desired.
- Select Save when you're finished.
Edit a schedule
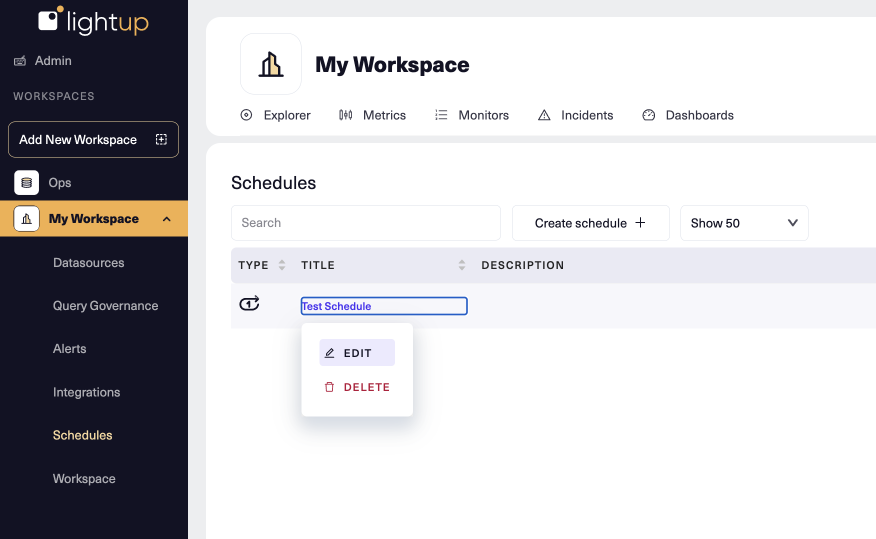
- On the workspace menu, select Schedules.
- In the Schedules list, select the name of the schedule to edit, and then select Edit.
- Make any changes you want in the Edit schedule modal, then select Save.